How to Build a Flexible Meshtastic Node with the CrowPanel Advance (That Works as a Standalone Display)
Introduction
Meshtastic is a fantastic way to build off-grid mesh networks using affordable hardware, but there’s always the fear that you’ll end up with a single-purpose device gathering dust if the local mesh never takes off. The CrowPanel Advance (a $35 ESP32 touchscreen) solves that problem beautifully. It starts as a full-featured Meshtastic node, but if the mesh fizzles, you can easily repurpose it as a standalone display for weather data, dashboards, or even a mini desktop clock. This guide walks you through the entire process—from unboxing to configuring Meshtastic, and then pivoting to standalone mode—so you never feel like you’ve made a wasted commitment.
What You Need
Before you begin, gather these items:
- CrowPanel Advance (ESP32-based touchscreen, model with the 2.8-inch display recommended)
- USB-C cable (data and power)
- Computer with Windows, macOS, or Linux
- Web browser (Chrome/Firefox for web-based firmware flashing)
- Optional: a microSD card (for logging or custom screens)
- External antenna (if you need longer range; the device has an internal one)
Step-by-Step Setup Guide
Step 1: Unbox and Power On
Remove the CrowPanel Advance from its packaging. Connect the USB-C cable to the device and then to your computer. The screen should light up with a default firmware demo (often a touch test or a generic IoT dashboard). If nothing happens, press the reset button on the side. This confirms the hardware is working.
Step 2: Flash Meshtastic Firmware
To turn the device into a Meshtastic node, you need to load the official Meshtastic firmware. The easiest method is using the Meshtastic Web Flasher:
- Open a browser and go to flasher.meshtastic.org.
- Click Connect and select the serial port for your CrowPanel Advance (it usually appears as "ESP32" or "CP2102").
- In the firmware selection, choose the CrowPanel Advance variant (sometimes listed under "Elecrow" or "Generic ESP32 Touchscreen").
- Click Flash and wait for completion. The device will reboot automatically.
- You’ll now see a Meshtastic splash screen and eventually the default radio interface.
Step 3: Configure Your Node via the Web UI
Once Meshtastic firmware is running, you can configure it over Wi‑Fi:
- On the device, go to Settings (touch the gear icon) and enable Wi‑Fi AP mode. The device will broadcast a network named "meshtastic-XXXX".
- Connect your computer or phone to that Wi‑Fi network. Open a browser and visit 192.168.42.1 (the device’s IP).
- Log in with the default password admin.
- In the web UI, set your desired Node Name, Channel (if you want a private mesh), and Region to match your country’s LoRa regulations.
- Save settings and reboot. The node is now ready to communicate with other Meshtastic devices.
Step 4: Test the Mesh Network
If you have a second Meshtastic node (even a phone running the app in Bluetooth-only mode), send a test message. On the CrowPanel Advance, use the touchscreen to navigate to Messages → New → type your message. The device will transmit over LoRa. Receiving nodes should show your message. This confirms the mesh is operational.
Step 5: Monitor and Maintain the Node
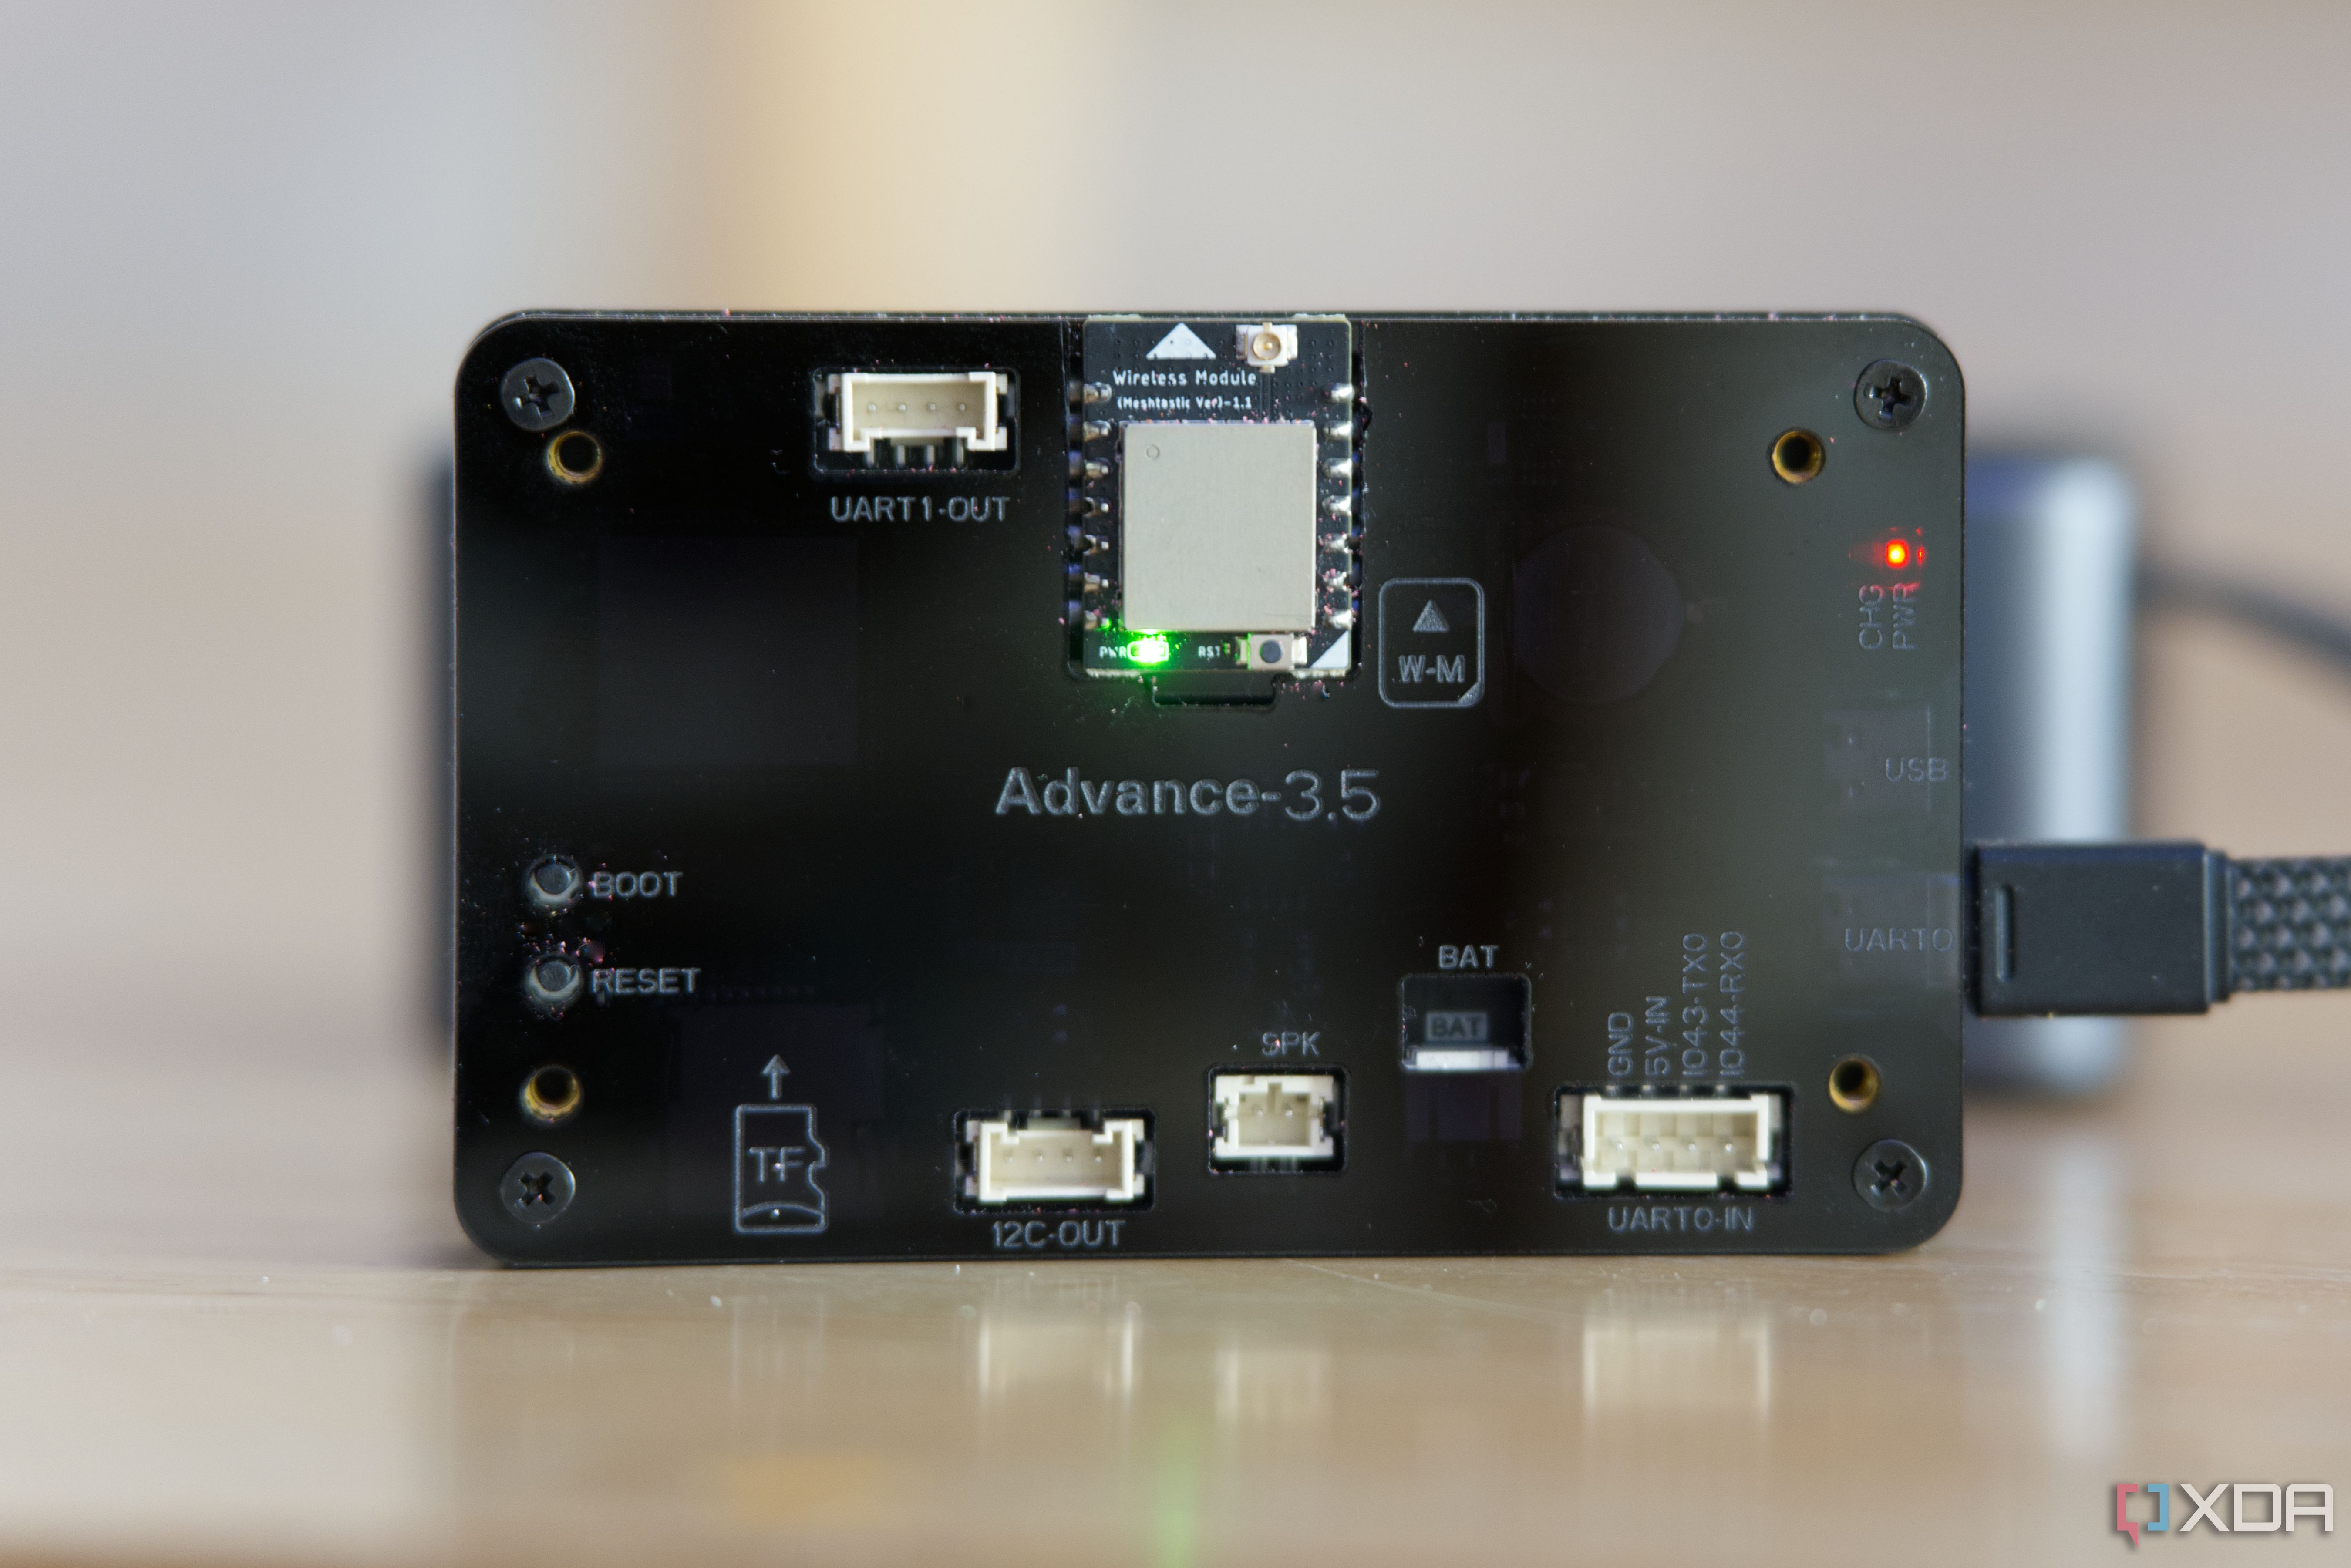
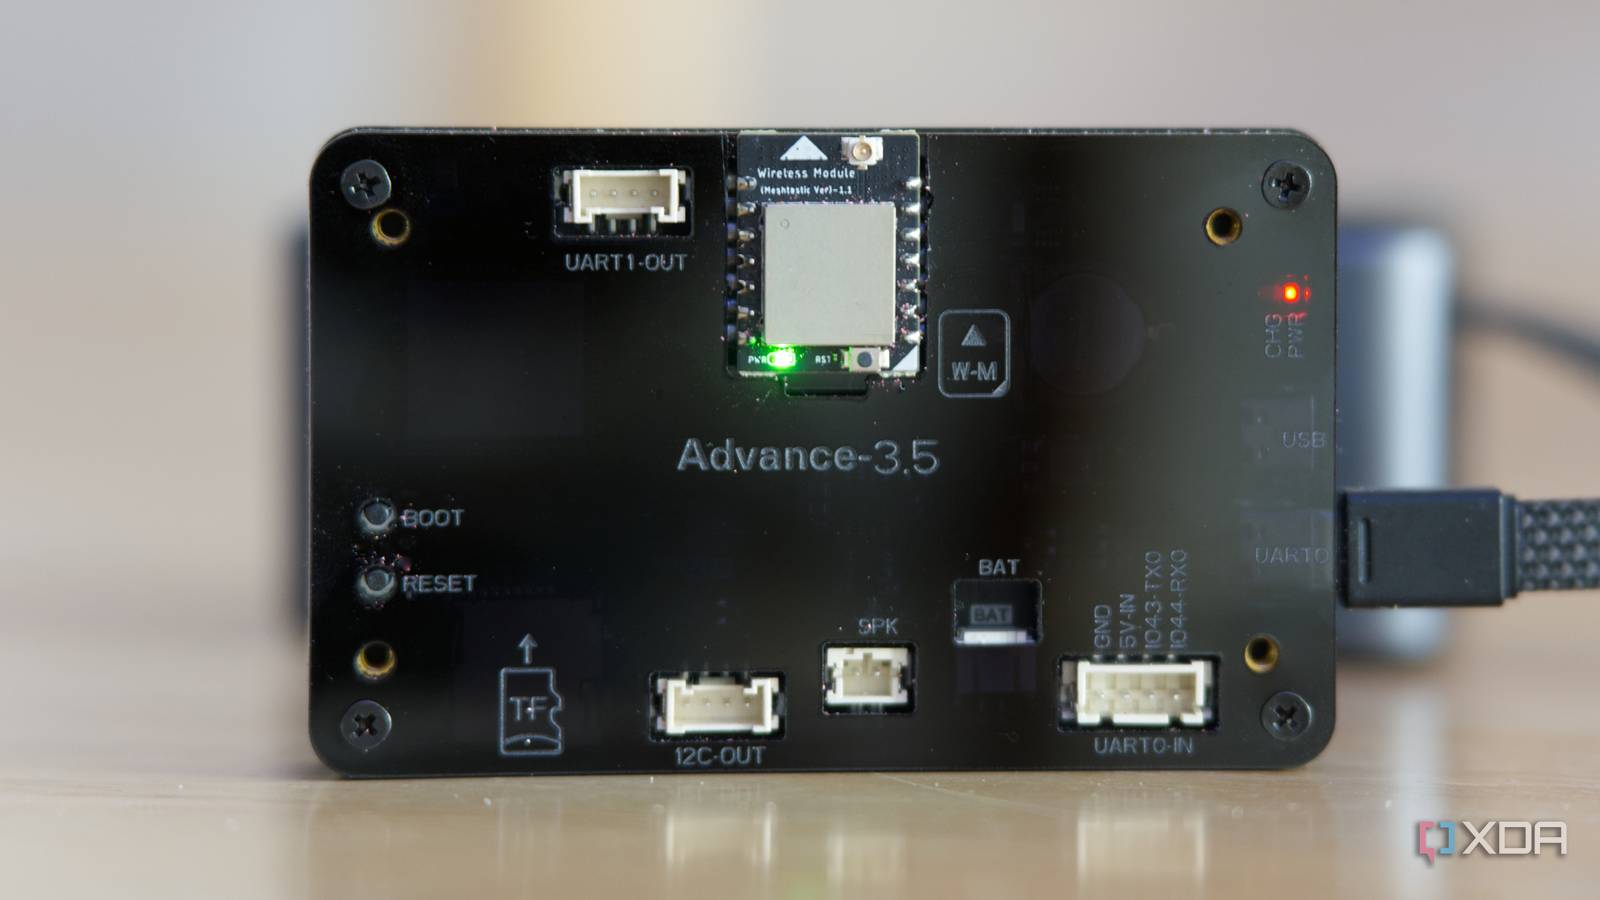
Keep an eye on the display for signal strength, battery level (if you power via USB power bank), and error logs. The CrowPanel Advance includes a battery connector, so you can add a Li‑Po battery for portable use. In the web UI, you can update firmware over the air or tweak radio settings for range.
Repurposing the Device (If the Mesh Doesn’t Work Out)
If your local mesh never materializes, the CrowPanel Advance doesn’t become e‑waste. Here’s how to switch it to standalone mode:
Step 6: Flash a Generic ESP32 Display Firmware
You can load open‑source firmwares like ESP32‑Weather‑Station or Nextion‑like HMI:
- Use the same Web Flasher but select a different firmware (e.g., “CrowPanel Display Demo” or “TFT‑eSPI Graphics Test”).
- Alternatively, use Arduino IDE to upload your own sketch. The device’s pinout is standard: TFT uses SPI (CS=5, DC=19, RST=18, MOSI=23, MISO=19, SCK=18), touch uses I2C (SDA=21, SCL=22).
- After flashing, you’ll have a touch‑screen interface for weather, calendar, or a simple widgets dashboard.
Step 7: Load a Custom Dashboard (Optional)
If you’re comfortable with programming, create a custom web server on the ESP32 that serves a touch‑interactive dashboard. You can display temperature, stock prices, or even a simple game. The 2.8‑inch 320×240 ILI9341 screen is responsive and bright for most indoor applications.
Tips for Success
- Antenna choice matters: The internal antenna works for short range (a few hundred meters). For longer mesh links, attach an external 868/915 MHz LoRa antenna with an SMA connector.
- Power management: The ESP32 consumes ~80 mA with screen on. For battery operation, add a 1000 mAh Li‑Po and enable deep sleep in the firmware (Meshtastic supports it).
- Backup your config: Before switching to standalone mode, export your Meshtastic configuration from the web UI. You may want to return to mesh later.
- Community firmware: Check the official Meshtastic ESP32 page for the latest stable releases. Experimental builds offer more features but may be buggy.
- Enclosure: The CrowPanel Advance comes with a plastic shell. If you plan to carry it outdoors, consider a weather‑resistant case or 3D‑printed cover.
By following these steps, you’ll have a versatile device that can serve as a Meshtastic node today and a standalone display tomorrow—no commitment required.